
Table of contents
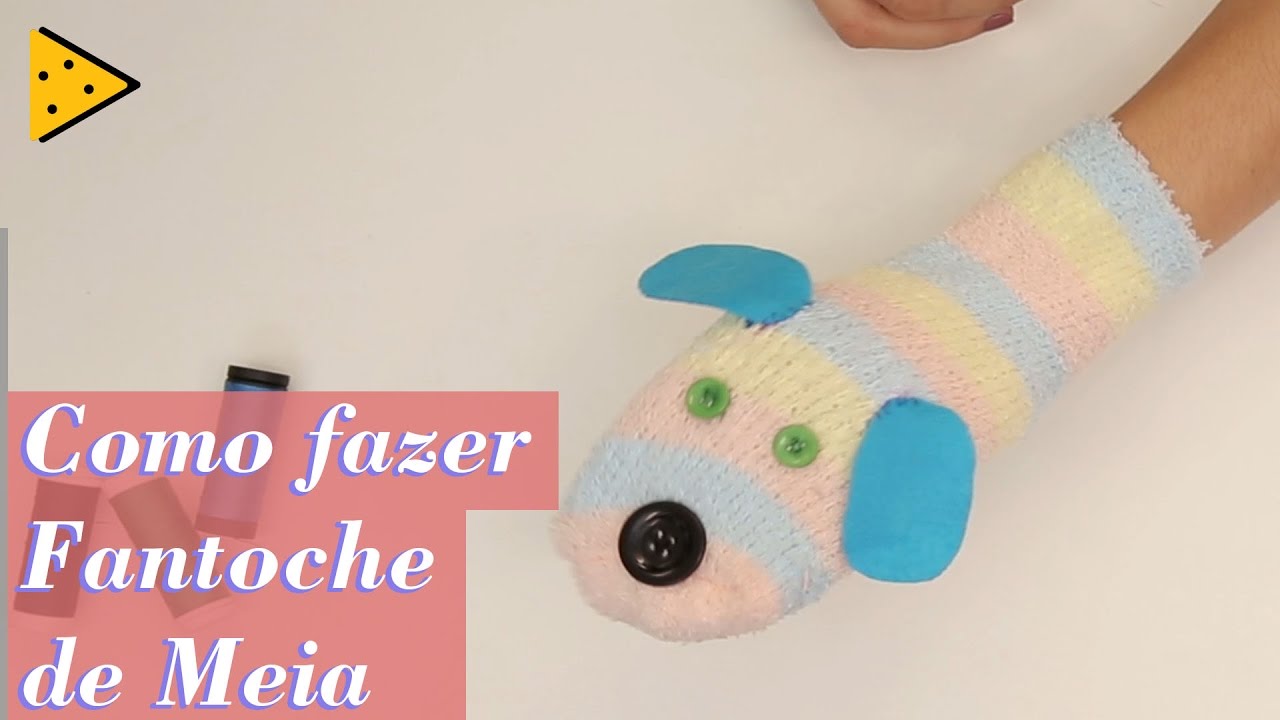
Want to learn how to make sock puppets? It's a fun, creative and sustainable option to reuse old clothes. At the same time, you can have a fun time with the kids.
Keep reading this article to find tips on materials needed and the step-by-step process to create various types of puppets.
What are the benefits of making sock puppet?
Making sock puppets is a useful activity with advantages at all stages of the process: before, during and after.
First, you can give your old socks a sustainable, interesting and meaningful destination. Why throw them away when you can turn them into an art object with emotional value?
Read also: 20 creative recycling ideas with PET bottle
In addition, the task of making the puppet itself is already a moment to be enjoyed: you let creativity flow and make a manual activity. It can even involve children in a fun pastime!
Finally, the sock puppets serve, once ready, to further develop creativity with games for the whole family. It is a valuable and relaxed opportunity to listen to what the little ones assimilate and reproduce in their daily lives. From this it is possible to reinforce important values for everyone's conviviality, fun. How about creating your own plays with the puppets?children? Imagination is the limit.
See_also: Residential solar energy: savings and sustainability at homeMaterials for making sock puppets
What to use to make sock puppets? Here, it depends on what you have at home, how much you want to spend, your artistic skills. One of the advantages of making sock puppets is that you can create fun characters with whatever you have left over.
Check out some of the materials that can be useful in making sock puppets:
- Socks, of course
- Clothing buttons
- Wool and thread
- Cardboard and paperboard
- Sequins
- Styrofoam balls
- Toothpicks
- Pieces of felt and fabric
- Fabric paint and gouache paint
- Fabric marker pen
- Needle
- Glue for paper and fabric
- Scissors
How to make sock puppet: step by step for 7 ideas
To make a sock puppet, whatever type of character you want to create, the step by step begins, strictly speaking, in the same way. Here we bring you a basic method to create a standard puppet and then tips to customize it according to 7 different pet ideas.
- To make the mouth, cut out a cardboard disk, in a size that allows you to fit the sock and make the open and close movement with your hand (between 8 cm and 10 cm in diameter)
- Fold the circle in half, to mark the point of the fold that will make the movement of the puppet's mouth
- On the part that will be the inside of the mouth, you can glue a red disk of paper or paint the cardboard red.
- Make a cut at the toe of the sock, in a size sufficient to wrap around the entire cardboard circle
- Insert the cardboard disc into the opening made in the sock, fixing the edges of the hole in the sock to the edges of the circle. To do this, you can use glue or you can sew it together
- To make the eyes, you can use clothes buttons, Styrofoam balls broken in half, sequins, pieces of felt, cardboard or fabric. Just sew or glue them on. If you prefer, you can buy ready-made eyes in craft stores and glue them on the sock
- Once this is done, the "skeleton" of your puppet is ready. Now, just complete it according to the character you want to create, placing nose, ears and props
Check out the tips below to give your puppet the look of 7 different characters:
See_also: How to wash a non-stick pan?How to make sock puppet: cat
- Assemble the mouth and place the eyes of the puppet using the tutorial above.
- What sets a cat puppet apart are the ears and whiskers. Make the ears using triangular cutouts of cardboard or felt, in the same color as the sock, and glue or sew them on.
- The muzzle can also be made with a small piece of felt or cardboard, more or less triangular in shape, glued just above the mouth.
- The whiskers can be made with thread or wool. Cut the threads into similar sizes and, using a needle, attach them near the muzzle.
How to make sock puppet: Bad Wolf
- When cutting out the mouth, instead of a cardboard circle, you can make a rhombus with rounded corners. Attach it to the sock by gluing or sewing.
- One of the things Little Red Riding Hood says to the Big Bad Wolf is, "What big eyes you have!" So go big when making the puppet's eyes.
- You can make teeth out of cardboard or white felt and glue them around the edges of the mouth.
- Use pieces of cardboard or felt - in the same color as the sock - to make the wolf's ears. Cut them out in a pointed shape.
How to make sock puppet: rabbit
- Follow the steps above to make the rabbit's mouth and eyes.
- Using cardboard or white felt, cut out two rectangles with rounded corners. These will be the rabbit's front teeth. Glue them to the top of the puppet's mouth.
- And what could be more striking on a bunny than the ears? You can cut out large pieces of cardboard and wrap with pieces of the other foot of the sock. Then glue or sew on the top of the head. If you prefer fluffier ears and not erect ones, you can sew the pieces of fabric without the cardboard.
How to make sock puppet: lion
- Make the puppet's mouth and eyes according to the tutorial above.
- The great thing about your lion puppet is the mane. You can make it using wool yarn, so cut several strands of wool making them about 10 cm long. With the help of a needle, nail each strand to the sock, tying a knot on the inside of the puppet so that it does not come loose.
How to make sock puppet: snake
- When it comes to making the puppet's mouth, you can make a more pointed cut-out instead of a cardboard circle.
- You can use pieces of felt or white cardboard to make pointed fangs, which should be glued to the cardboard mouth. If you want, make only the ones at the top.
- When making the eyes, make a narrow, vertical pupil. Black strips of felt or cardboard on white strips of the same material will do the trick.
- Make a long tongue with an open end in a slit. You can use fabric or red felt. Glue the base on the tongue to the bottom of the puppet's mouth, near the fold of the cardboard.
- If the sock used to make the puppet doesn't already have a pattern that resembles the patterns on a snake's skin, you can make it yourself. Cut out pieces of colored felt and sew them along the body. Or paint patterns with fabric glue.
How to make a sock puppet: frog
- Frog puppets are traditionally green in color. If you don't have a green sock to use, you can paint it using fabric paint.
- Make the puppet's mouth, following the tips given above.
- A tip for making the eyes is to use a small Styrofoam ball, about 3 cm in diameter, broken in half. Glue each half to the top of the puppet's "head" and paint pupils with black marker pen.
- Make a long tongue, using red fabric or felt, and glue it to the bottom of the mouth, near the fold.
How to make sock puppet: unicorn
- Give preference to white socks to make your unicorn puppet.
- Make the puppet's mouth and eyes as per the tutorial above.
- You can make a mane using white wool yarn. Cut several strands of about 10 cm and, with the help of a needle, attach them to the back of the sock. Knot the part of the yarn that remains inside the sock to prevent it from escaping.
- Use felt or cardboard to cut out pointed ears. Glue or sew them onto the 'head' of the puppet.
- To make the unicorn horn, you can stick several Styrofoam balls, of different sizes and in descending order, using a toothpick. At the base, use the largest ball broken in half. This base should be glued to the top of the puppet's "head". If you prefer, you can buy ready-made unicorn horns in craft stores.
5 tips to get children involved in sock puppet making
Making sock puppets with children is a good way to develop their creativity and provide them with a fun and challenging activity. Check out some tips to make it as safe and productive as possible:
1. safety caution: needles and scissors with a tip should be handled by adults.
2. if the child is small, also be careful with glue and small items such as sequins so that they are not brought to the mouth.
3. divide tasks: leave the easier parts, such as gluing eyes and props, to the children.
4. give children creative freedom: let them choose colors, shapes and textures. After all, what matters is to give shape to the imagination.
5) Take advantage of the moment of making the puppets to think with the children about the use that will be made of each character. Will you use the puppet in a play? In games with siblings? To help with food introduction? These objectives can help to define the appearance and props of each character.
Do you like making decorative items at home? Check out 20 creative PET bottle recycling ideas here
